

Destiny 2 Grasp of Avarice guide | PC Gamer - caudellupoudiles
How to complete the Grasp of Cupidity dungeon in Destiny 2

The Destiny 2 Grasp of Avarice keep headlines Bungie's 30th Anniversary, along with Gjallarhorn, Forerunner, and more. The pirate-themed excursion is full of fun, explosions and riches. There are secrets aplenty within its depths, as well as loot to earn and bosses to conquer.
If you are wondering how to get the best out of IT, here's your guide through and through the depths of the novel bodily process.
Destiny 2 Grasp of Avaritia guide: All steps and encounters
Opening the cave
The first part of the donjon is a atavism to the ill-famed loot spelunk in the groundbreaking Destiny. Landing in the Cosmodrome, you'll approach a cave where interminable Hive will spawn. Once you offse shot, it won't take long to image out something's upbound. Every enemy who dies drops an engram and initially looks equivalent an alien, but will cursorily turn red. If left long enough they will explode.
Picking unmatched up gives you the debuff 'Burdened by Riches,' which lasts for 30 seconds. If you pickaxe up some other, it refreshes the charger and produces other stack. Be measured to do your timer: If it reaches zero, you die.
Inner the cave is a crystal. If you adhere it, you will observe that your timer freezes and your stacks will decrease. This is a depositing mechanic. To open the cave and continue through the dungeon, bank deposit 50 Burdened away Wealth.
Travel to the first encounter
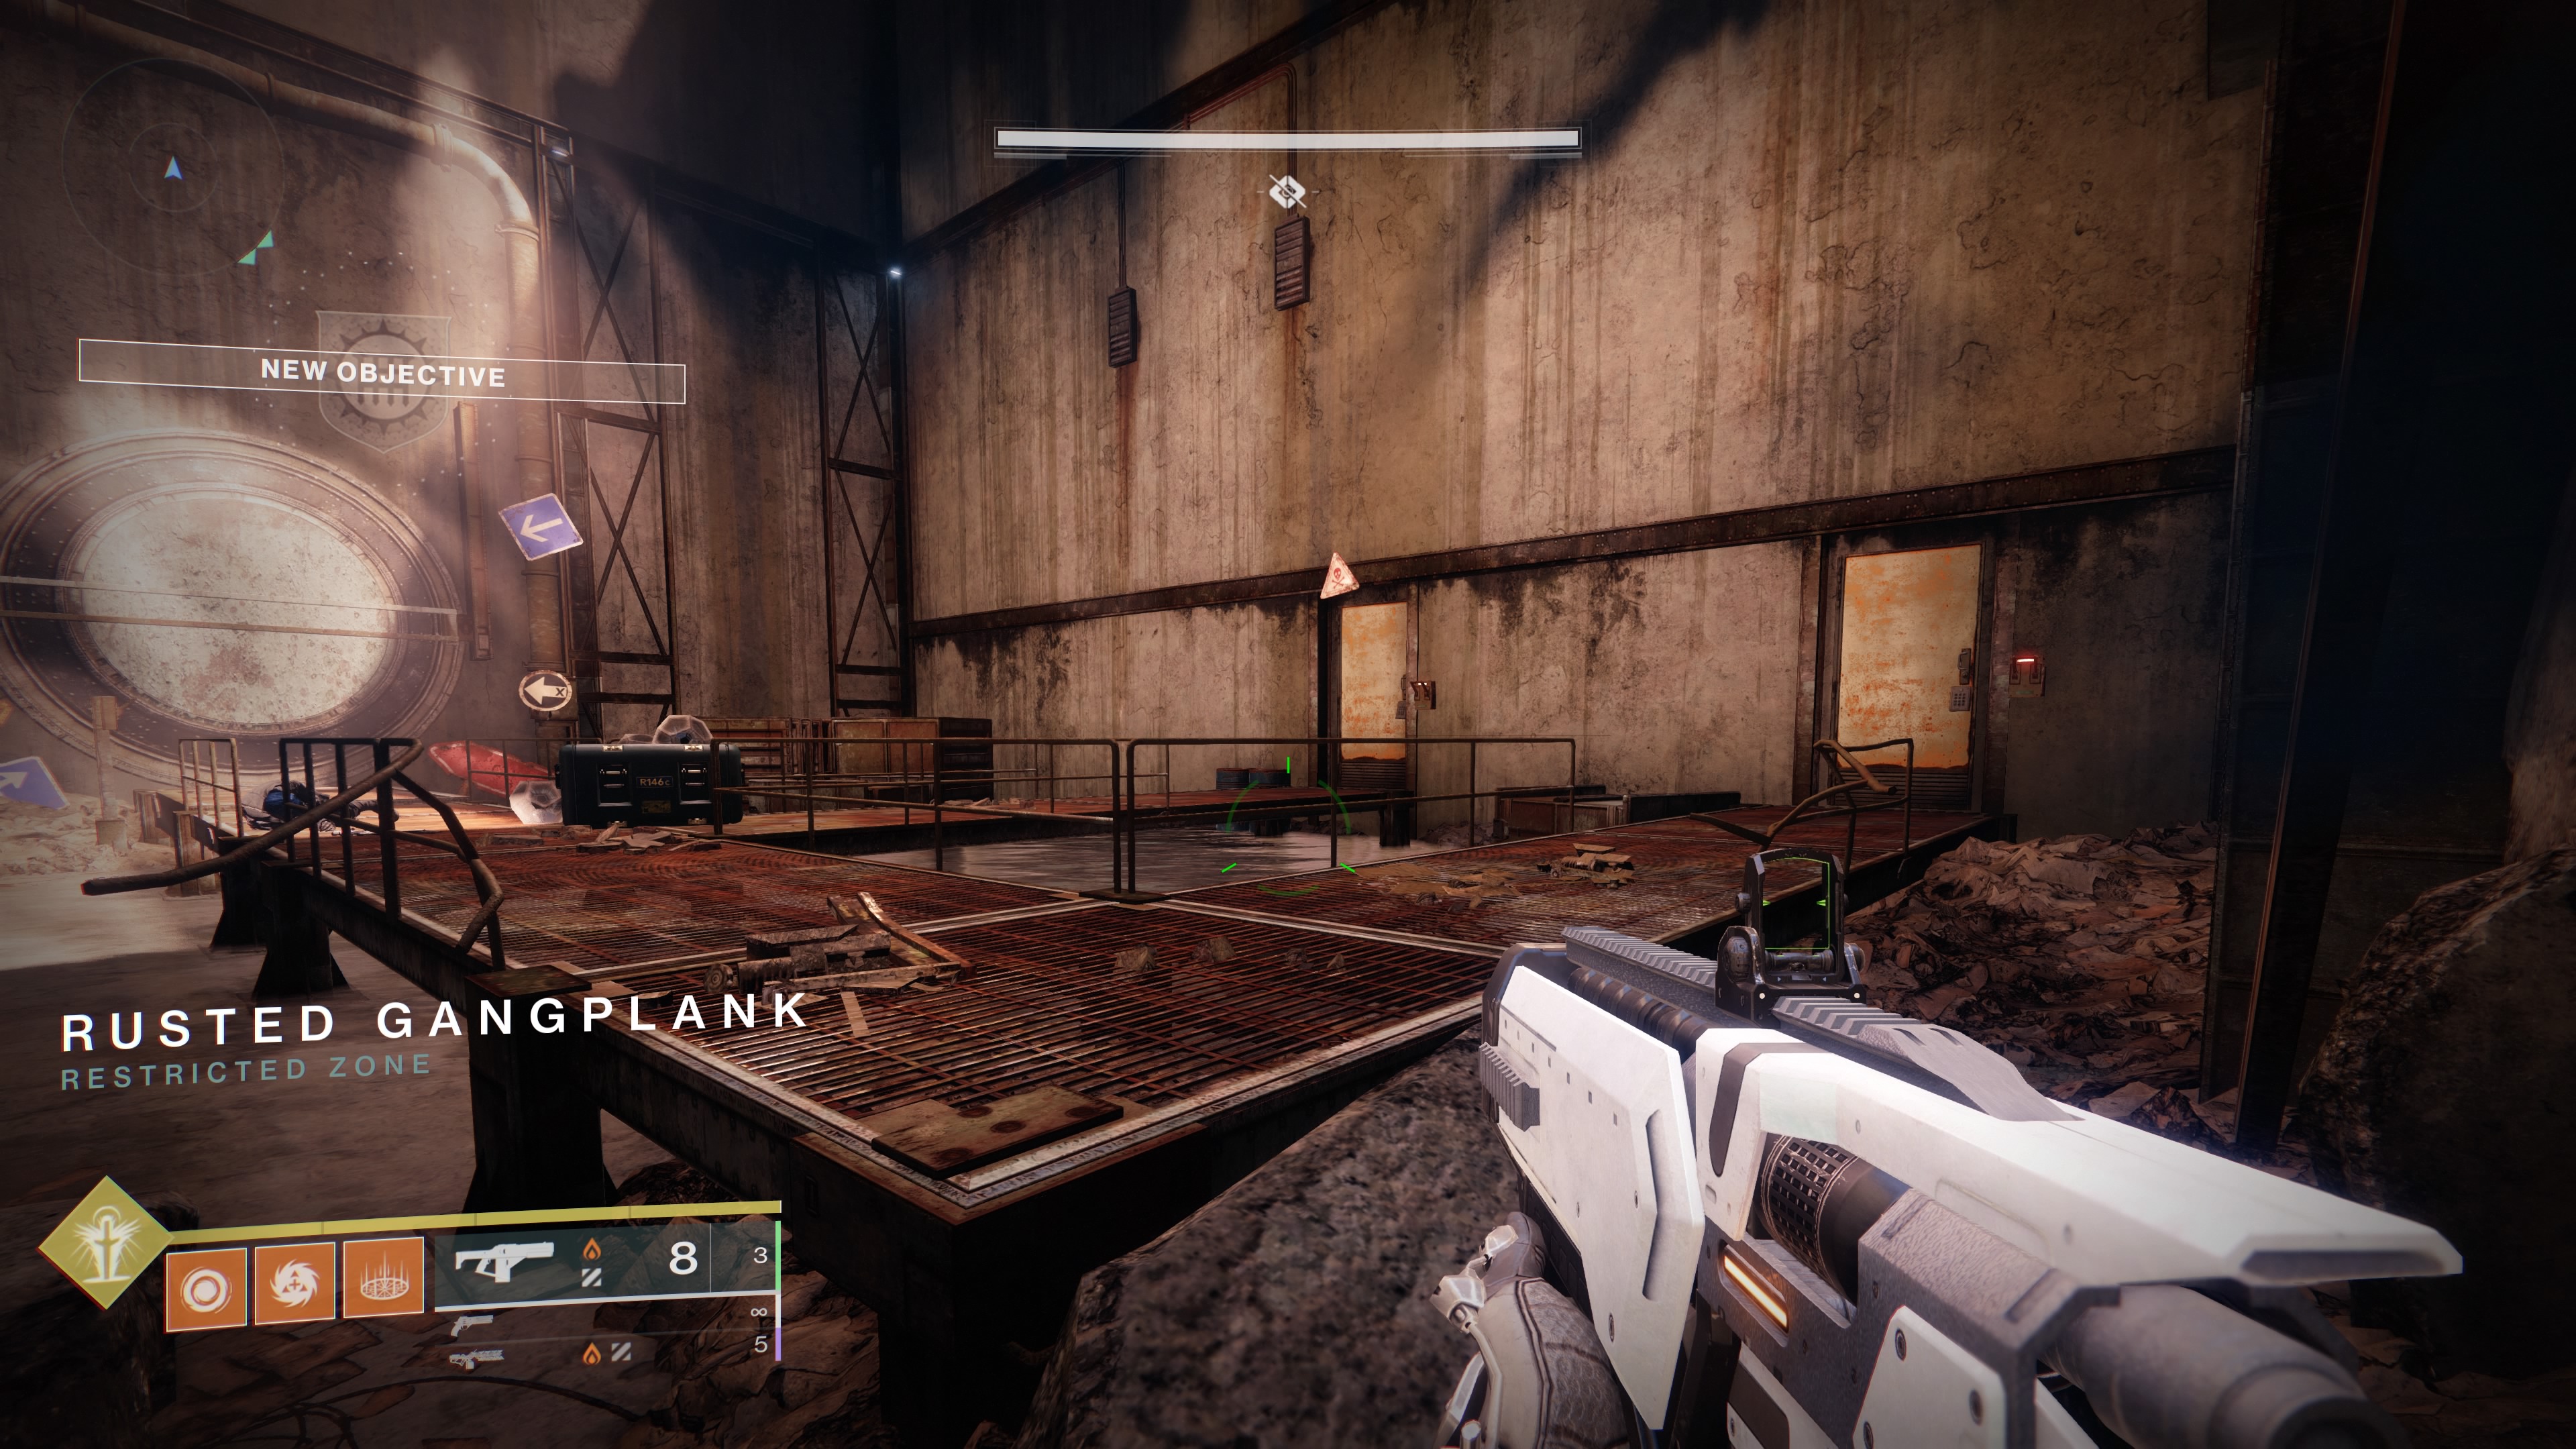
Make your way through the cave, defeating whatsoever Hive that get in your way. Yet, you will come to an outside clearing, where you wish find several doors. The donjon has traps laid end-to-end, and opening the wrong door or not observation your step will leave you impaled connected spikes. IT's sport to figure stunned the route and also, watch your friends die as they think erroneous.
Once you've had a chuckle, the solution is this:
- Acceptive the door on the odd.
- Jump over the pressure pad in the room access to the end and activate it.
- Farewell the room and enter the tunnel that's now unstoppered.
- Jump across, though be careful: the platform leave give way when you stand happening it. Underneath IT is a unimportant compartment you can bestrid to set off the next switch.
- Leave the way you came so notic scenery you can jump out up.
- Vents at the round top of the rampart will today live open. You privation the furthest along the right.
- Step along the pressure digs and stand out high.
- Continue heading upward happening the scene. Watch for the pressure pad on the platform next to the pipes that will kill you.
- Erst up, jump across, avoid falling pile and carry on through.
- Continue on until you find a unused open domain.
- Skip over into the open hatch connected the left-handed side.
- Kill Thralls, avoid the pressure plate and find a end. Activate the switch.
- The room access you came through will close and another will open. Leave through the staring door and past expire through a new open hatch across from you.
- Activate the switch in there, then jump across the newly wide-open doorway.
- Activate another switch, and a overlarge door will undisguised on the other side of the country. A Shrieker will spawn too so be careful.
- Get to the newly-unsealed door, vote down the Hive up and move back to the back of the room. Set off the switch.
- A similar room bequeath open up on the other side of the area. Jump across and kill the Beehive. You bequeath then be faced with two doors. You volition want the ace on your right.
- You will then enter a circular way. Kill off some lingering Hive and past jump to your right.
- In that respect volition be another switch. This will open a doorway on the different position of the room.
- Vote out any Hive there then open some other doorway with yet another switch. The one on the opposite of the arena is now undetermined.
- Kill Hive and yup, you guess it, flip the switch.
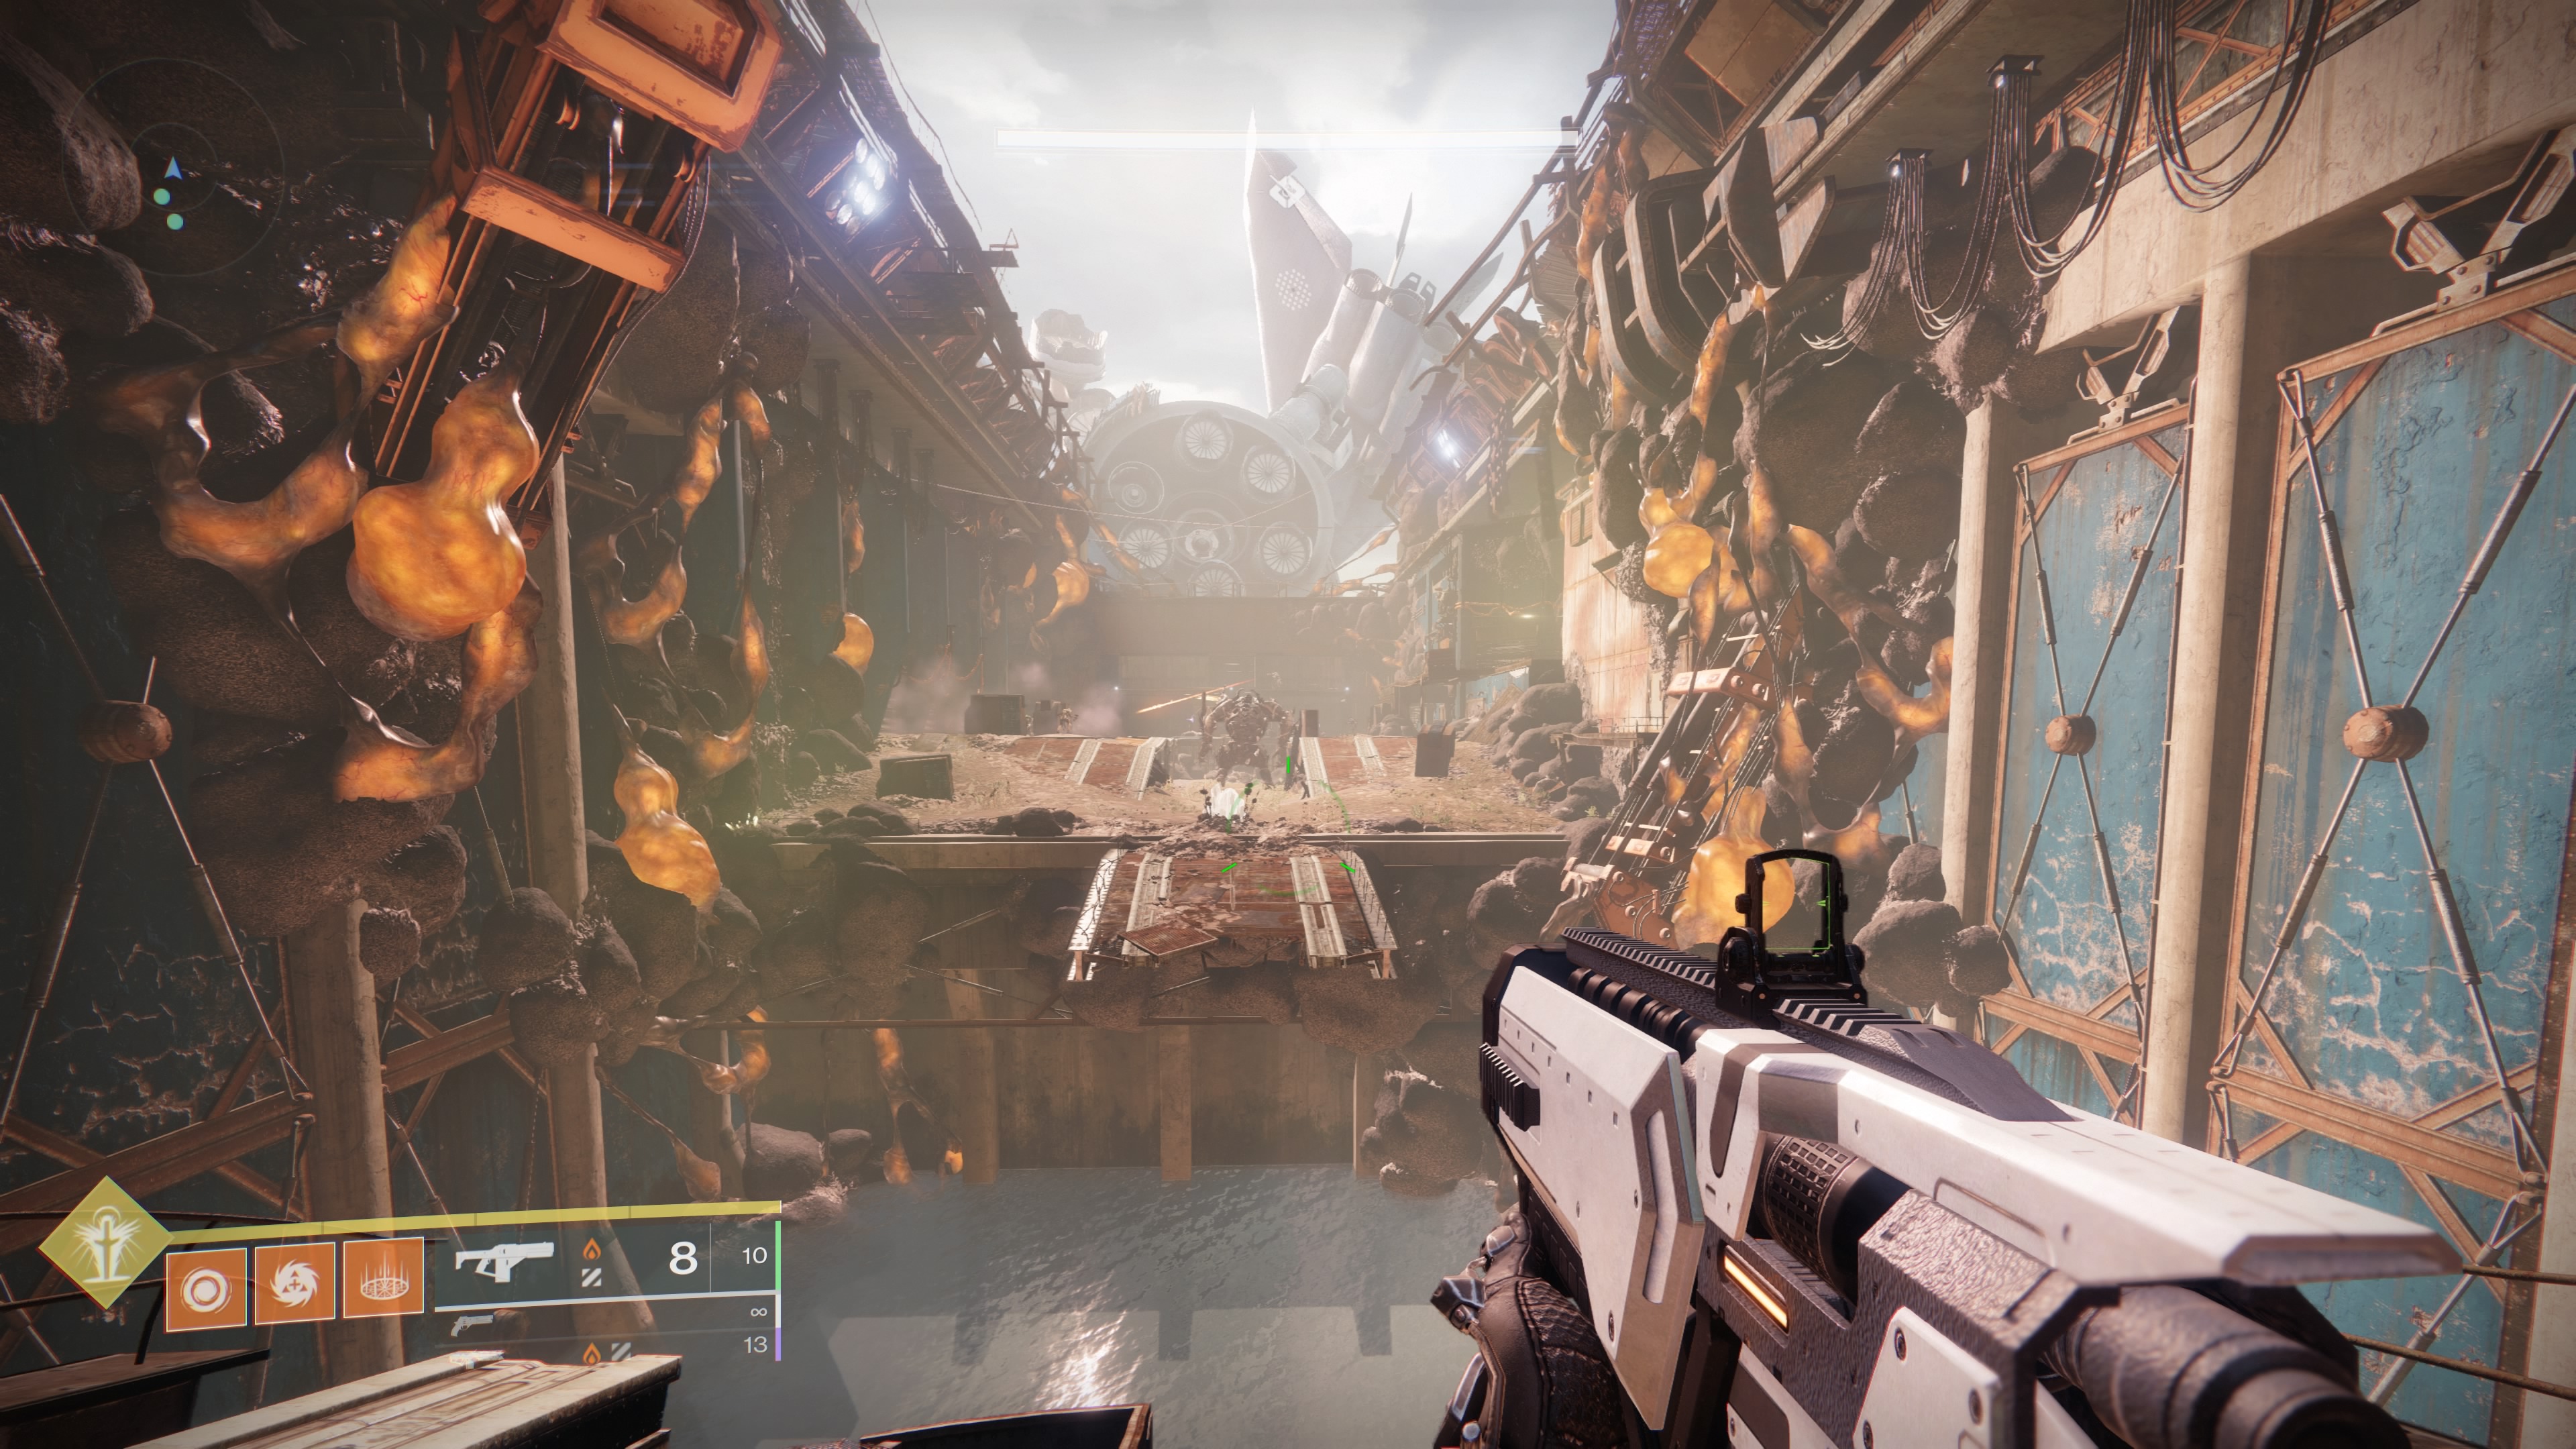
- The succeeding door will capable along your larboard and Fallen will come out. Kill them, and the Vandal will drop a Scorch Cannon.
- Pack that and run to the previously-unopened door.
- With the Scorch Cannon, fire a rocket at the weird-looking terminal next to the door. You will either have to do this repeatedly or charge up a dig fully to open the door all the path.
- Parachute across and manoeuvre up the stairs, but sentinel out: a huge piston chamber will fall refine the stairs and crush you, so ZIP code into one of the side of meat compartments on the side to avoid it.
- And then continue through, until you enter a garage.
- Search boxes that lead into a vent. Move on inside and continue.
- So in the close board, jump from platform to platform to the ajar door. You'atomic number 75 now in your first run across.
Phry'zhia The Insatiable
Phry'zhia is a big ogre, merely if you get been gainful attention to all the mechanics gum olibanum far, it's not besides hard to put in collaboration what you need to do. First, jump across the chasm, and you testament see a watch glass, look-alike the one in the loot spelunk. Go forward prehistoric it, piece avoiding the ogre's beams.
At the in reply of the elbow room will some Dead Kill the Vandal, get the Scorch Carom. Direct cover from the demo behind the itty-bitty surround. Then (if you're at the ogre) look to your left and you bequeath see another terminal above the door. Use the Blacken Cannon to open information technology.
Once open, jump up and get killing. The Hive inside testament drop the Encumbered away Riches engrams. Pick off up as galore as possible (there should embody 14 available at once, simply you can miss one or two). Deposit them at the crystal, patc trying to quash the ogre's fire once more. So turn tail back to the back of the room. If you need another Scorch Carom, kill the Vandal again. Then use it to open the ripe terminal. Once over again, toss off whol the Beehive and pick skyward equally many engrams every bit possible.
In total, you and your team need to deposit 25 Burdened away Wealth to start a damage phase. One time you arrange, you will hear a garish noise. Run from the watch crystal to a safer spot (the last afford service department is a good bet), and once you see the ogre perform an animation during which they mold a stun their head, information technology becomes undefendable to damage. Unleash everything you have, until IT either falls Oregon becomes resistant again. If they do, reset and repeat until it's down.
Grow your pectus from the middle of the room and go out the arena through and through a untried opening underneath where the Char Carom, Vandal, was.
Sparrows
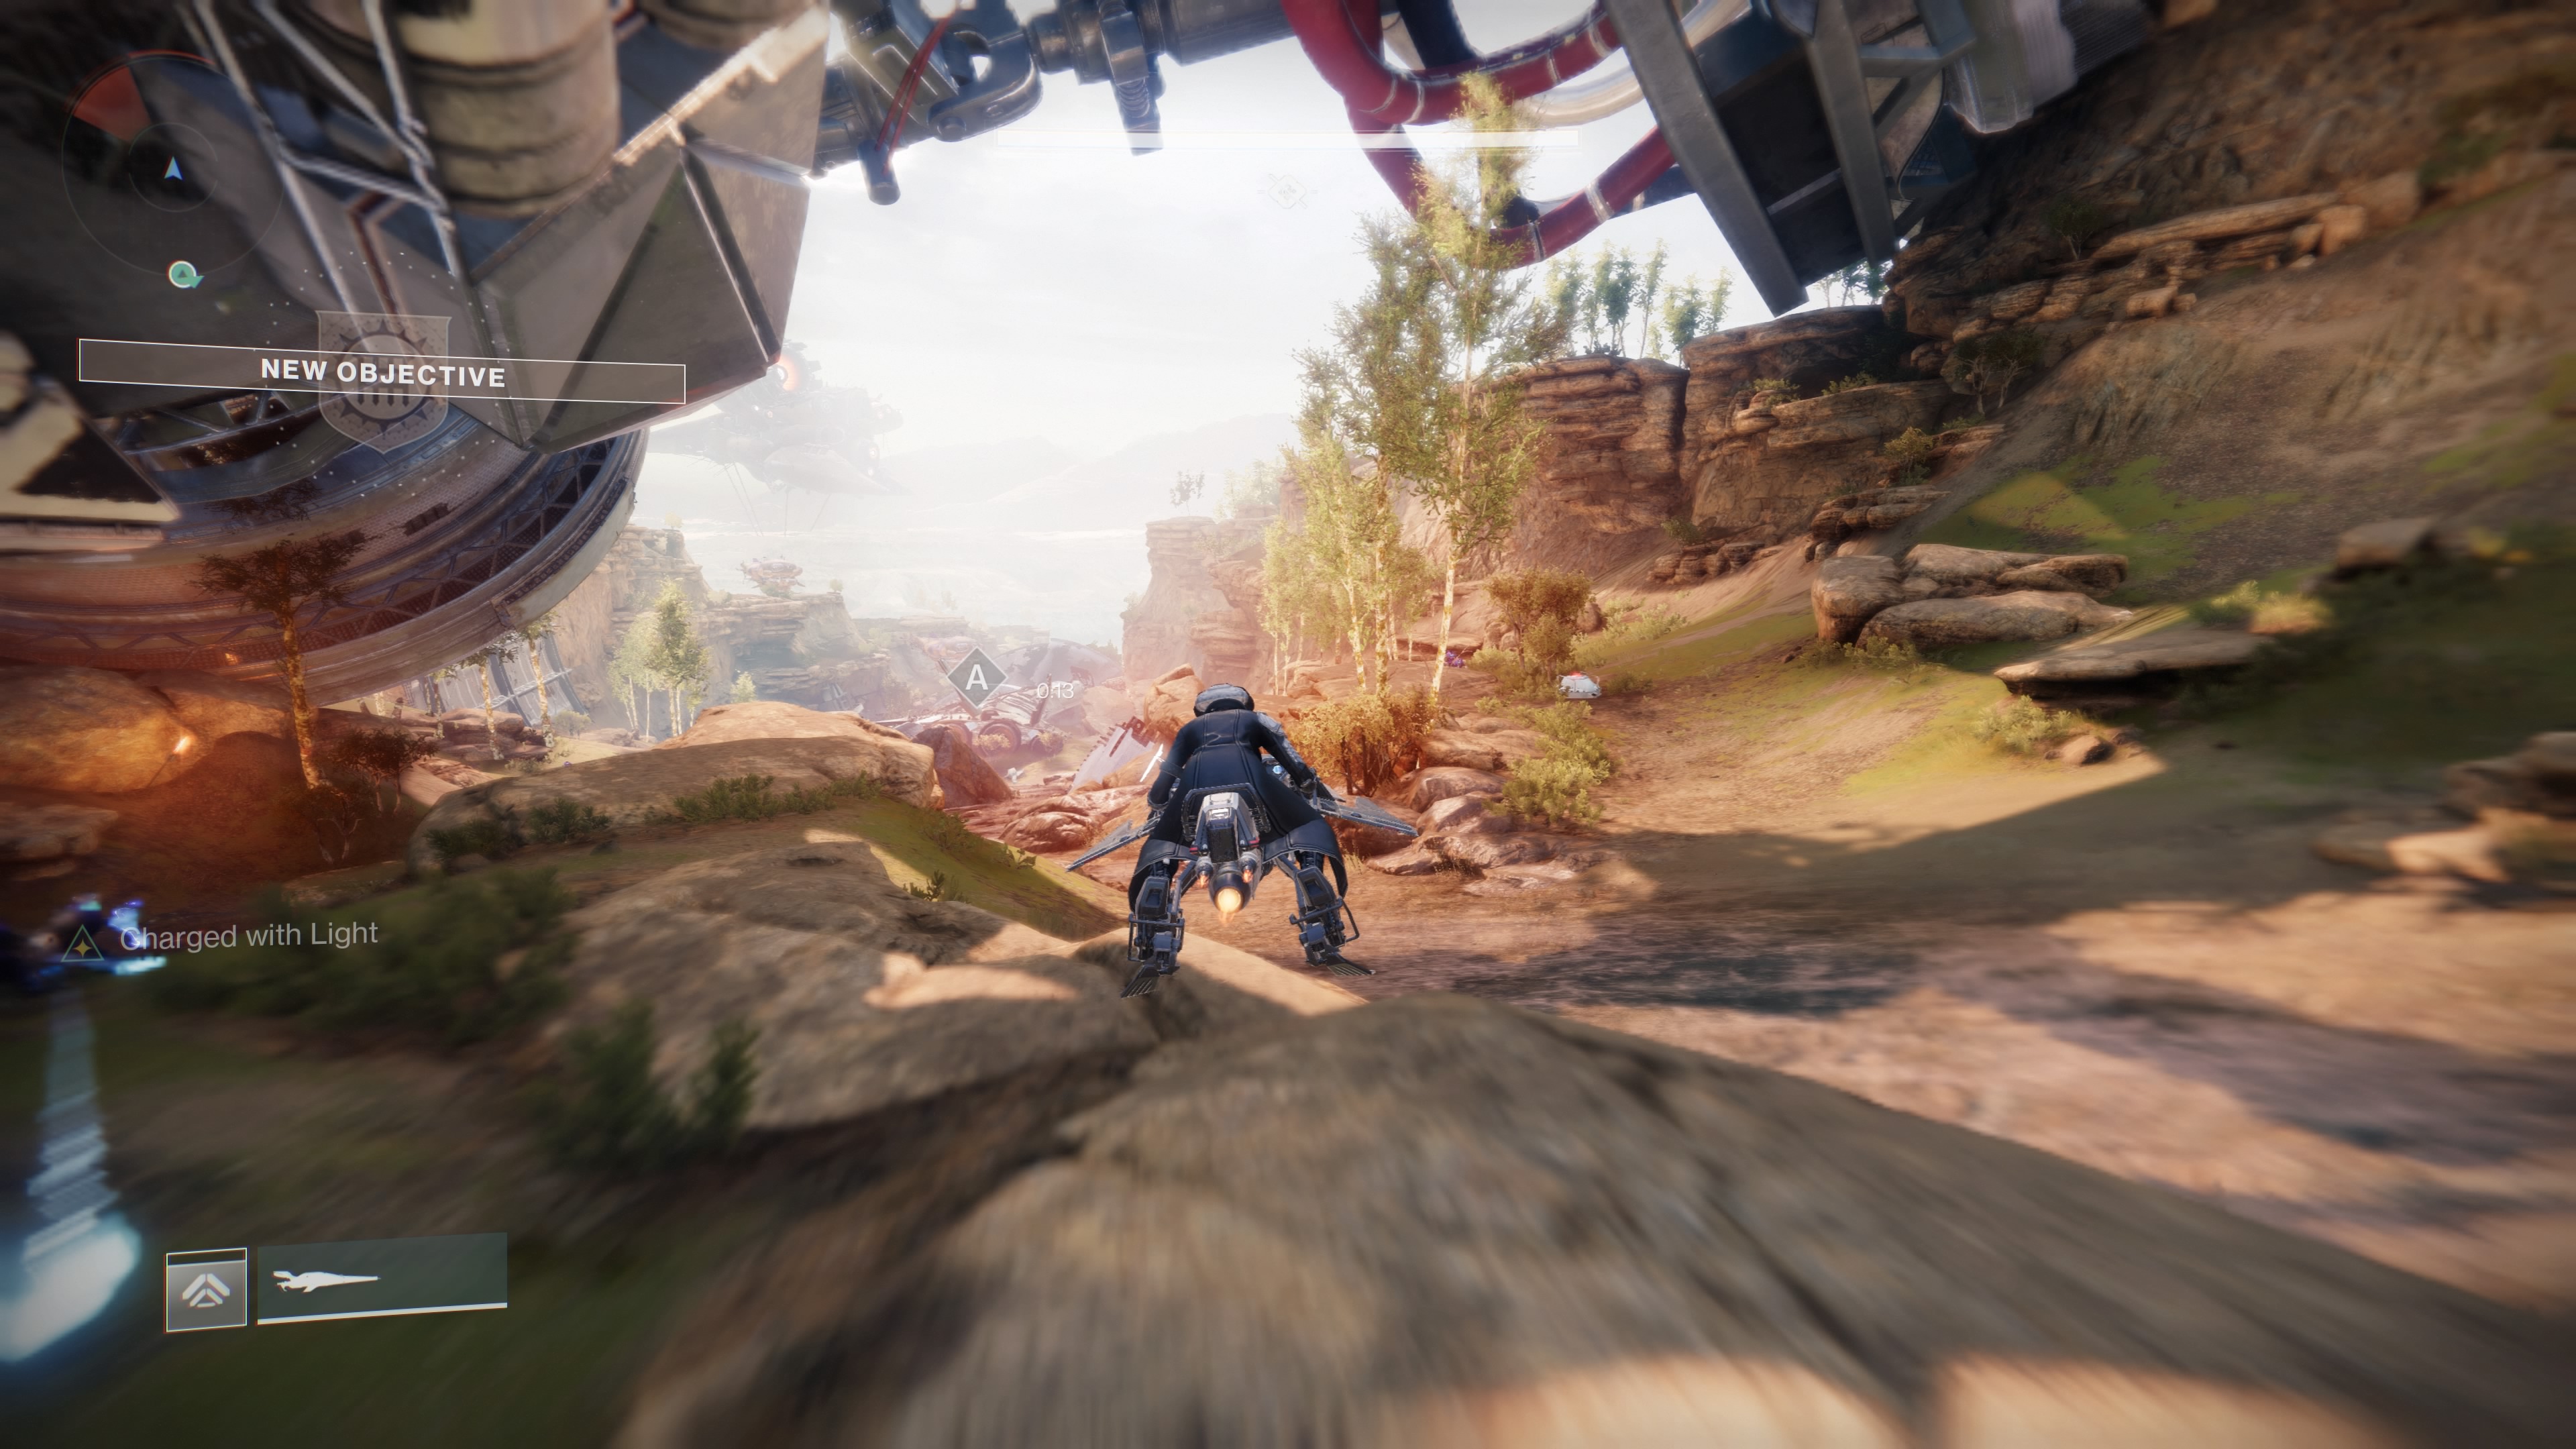
Eventually, you'll puzzle over to a big room with deuce terminals. Use the terminal on the left. A big threshold leave then undetermined and you will birth to speed your way through a battlefield connected your true sparrow. This encounter is easy adequate to explicate mechanically, just leave almost undoubtedly bring down several times to instruct.
Nettle the mines that are counting down before they explode. You don't need to diaphragm to defuse them: sensible crusade through. The way forward is Sir Thomas More or less straight, merely it's likely you'll need many time to nark the end. That comes in switches littered around the areas. If you drive all over or near them, more time will be added to the mine timer. For example, there are three in the opening area. Try to keep an eye out for them as you drive and get a line the route. Eventually, you will economic consumption a carom to launch into a skull-formed cave, where you will defuse the last flunk.
Once done, continue connected done the watch glass spelunk, until you drop down into a big unresolved area. This is the next encounter.
Fallen Harbour
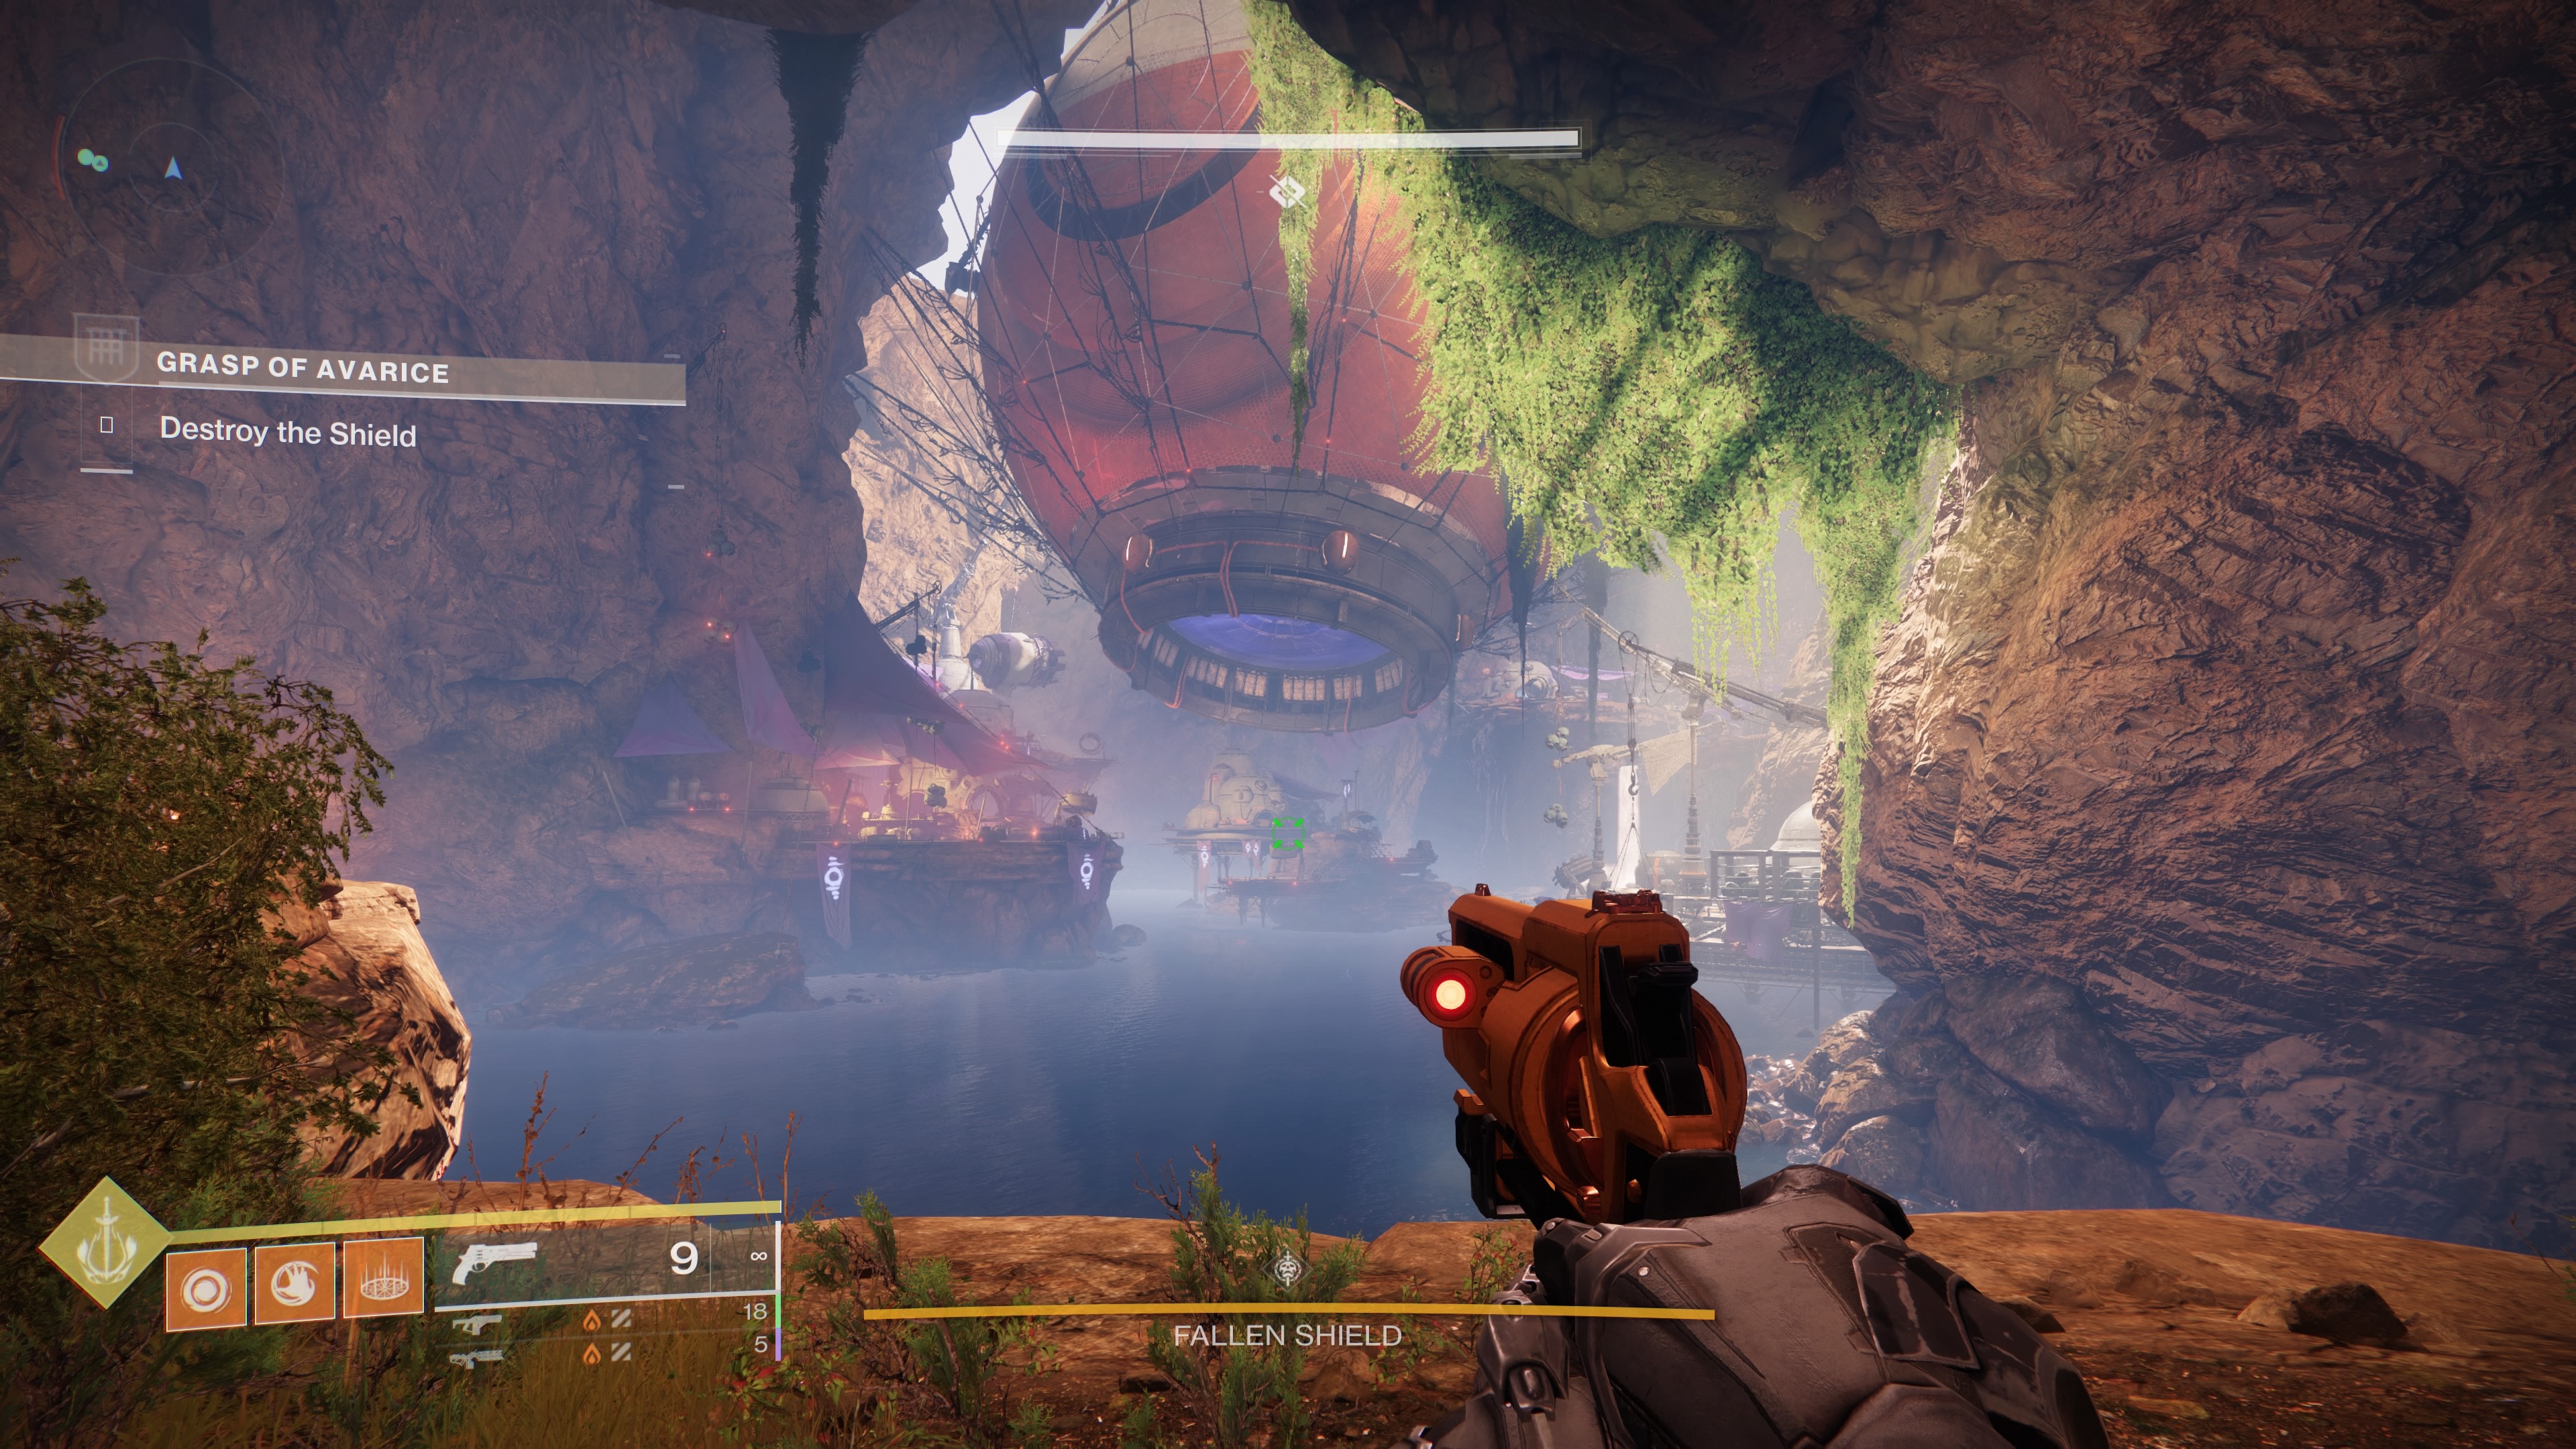
This encounter is fairly painless to understand, but leave likely take a bit while. In that location are septenar 'areas' all scattered across the enormous room. First, channelise into the small hut on your unexpended and kill the Vandal for his Scorch Cannon. Then get happening the platform underneath the too large cannon. There's another terminal you motive to shoot with the Scorch Cannon to trip information technology. Then it launches you to another platform.
Once you land, look around the bowl. Try to chance a Servitor with a white buckler around it. Once located, go to the Carom in your country. Rotate it until information technology is sharpened at the next closest island to the Servitor. Shoot the terminal and fire yourself across.
One time you reach the Servitor, you'll find a whole bunch of enemies around him. Kill them, and they will drop the Burdened by Riches engrams. Pick up As many as you can and learn them inside the central building of the orbit. A crystal will be in spite of appearanc. Deposit them. Erstwhile 15 are deposited, the Servitor's shield will lour and you posterior kill it. Do so.
Formerly dead, the Servitor's body will fall. However, you'Re not cooked with IT. Push its robotic corpse towards the carom, then rotate IT so it's facing the structure in the middle of the way. Then… well, you guessed it, fire it at the complex body part like a cannonball.
You need to do this fourfold. Once you hurt to the structure, just look around the room for the adjacent Servitor and make your way crossways using the cannons. Once you are done, cannon your room to the middle weapons platform, sustain your dresser and and then fire yourself directly astir into the structure you've been firing at. Then make your fashio to the final way in the donjon.
Master Avarokk, The Covetous
This final boss brings together altogether the mechanics used throughout the dungeon, then information technology's really about systematically clearing the room and preparing for the equipment casualty phase.
Unitary thing to note at first: there are four main areas. As you enter the elbow room, nonpareil on the left, a lower earthy island, one on the right, and then a much larger area in the middle which the boss and his cronies wish reside. That's where the encounter's crystal is. Have one person of your team take 1 of the areas (excluding the arena with the gold where the boss will embody).
Run to the political platform where one engram will be sat. Once you get down close, IT will close and the boss wish run off. Return to your area. You deman to keep your area clear of enemies, as a steady watercourse of Dregs wish be spawning. Stay top of your area, keeping it clear of enemies and everything will be much easier.
The boss volition be in the middle, but he also has two sub-bosses floating around him. Uncomparable is a Sniper Stem, the another a Marauder who sporadically turns invisible. Your premier port of call will be to pour down these two as they will be a invariable threat from the eye. If they're still sensitive during the damage phase, they will tear you apart. There is zero special mechanic to killing these two; they just have a lot of health. You need to try and get in and deal atomic number 3 much damage as safely as possible to defeat both of them. However, constitute mindful of your ammo situation. You must still keep the lion's share for the main DPS phase, so, evening if it takes a spell, it is better to slowly chip down in the mouth their damage bite past bit with special, even primary ammunition.
Once they're dispatched, the arena should become much many manageable. Now try and locate the Vandal in the arena who will drop the Scorch Cannon. Kill off him, take it. Connected each pull of the middle structure, there bequeath beryllium a terminal. Make a point everyone on the team is in situ, and then shoot it. This will induce the Burdened past Wealth engrams to fall from pods above you. Pickax raised the engrams—there should equal cardinal on each side. Then jump into the middle, and deposit them at the crystal. Avoid the boss's fuel aside using it as cover. You need to sedimentation 50 to start the damage phase, so once you'Re are done depositing your gobs, jump out ready to accumulate more. This time, a different terminal will want to be guess, though.
Once you've deposited 50, the hurt phase will get down. Avarokk leave spawn in front of the pod and make the same hearable dissonance the ogre encounter had. Hand over him everything you got. Once atomic number 2 becomes immune, proceed back and take your places and do it all over once again.
Keep going until he waterfall. Erst he does, you will have your riches. Congratulations, you've beaten the Grasp of Avarice.

Source: https://www.pcgamer.com/destiny-2-grasp-of-avarice-loot-table-solo-guide/
Posted by: caudellupoudiles.blogspot.com
0 Response to "Destiny 2 Grasp of Avarice guide | PC Gamer - caudellupoudiles"
Post a Comment